Now I am going to take my time and have more fun, and do this project the right way, sparing no effort or resource.
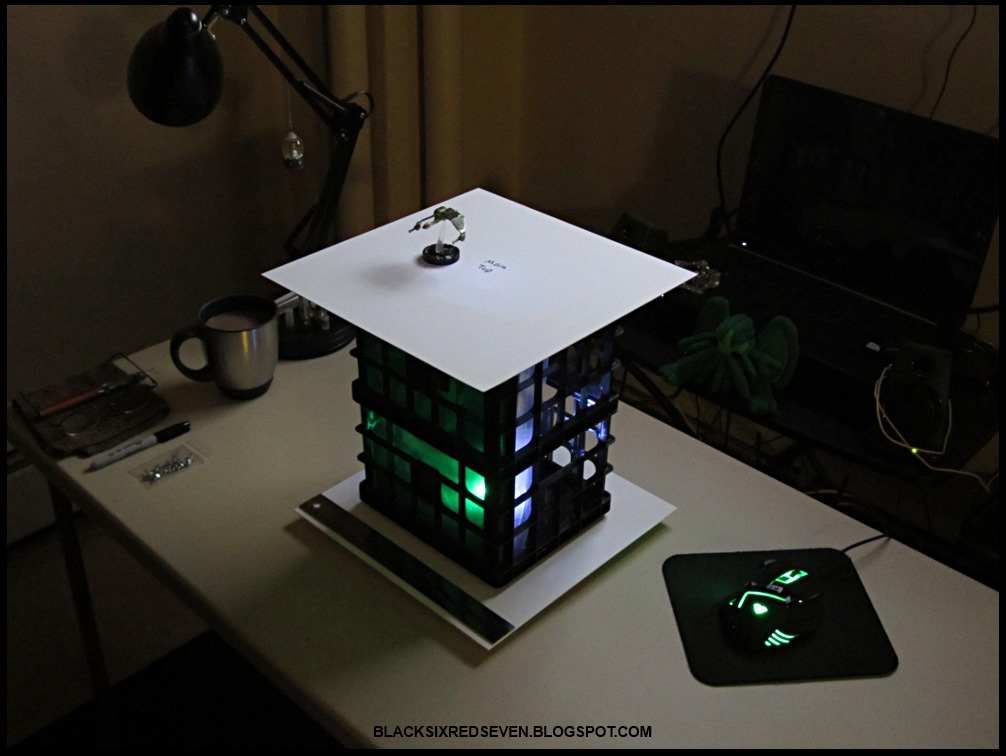
The Destroyer Cube is entering the cube stage of the build...Ha, Ha! Some of my Internet buddies mentioned that the model is a triangle, and I just smiled and said; what you have been looking at thus far is the superstructure, not the outer frame. I set this second dry-fit arrangement up, for another preview of how the lighting will look, with the exterior upper hull in place.
The outer-hull templates are cut and ready to go. The first thing I wanted to do is to dry-fit them, as pictured. I of course made sure to design and draw them to fit properly, but it is always good to check the parts before you start gluing things together.
I cleaned the tiles with a scrub pad to get a fine texture all over the plasticard. The glue will have a fine rough surface to hold to.
Under the weight of the tiles and my table side trashcan, the plasticard sections set very nicely. They are as sturdy as the floor tiles themselves now.
I recently received my next supply order to continue working on the Destroyer. I have also decided to make a Sphere next so I can use some of this for that model too.
PART THREE
BORG Boss out!


No comments:
Post a Comment